
Premium Epoxy Flooring in Texas
Featured offer
Two car garage
$1,799
starting price
We install for you
Residential
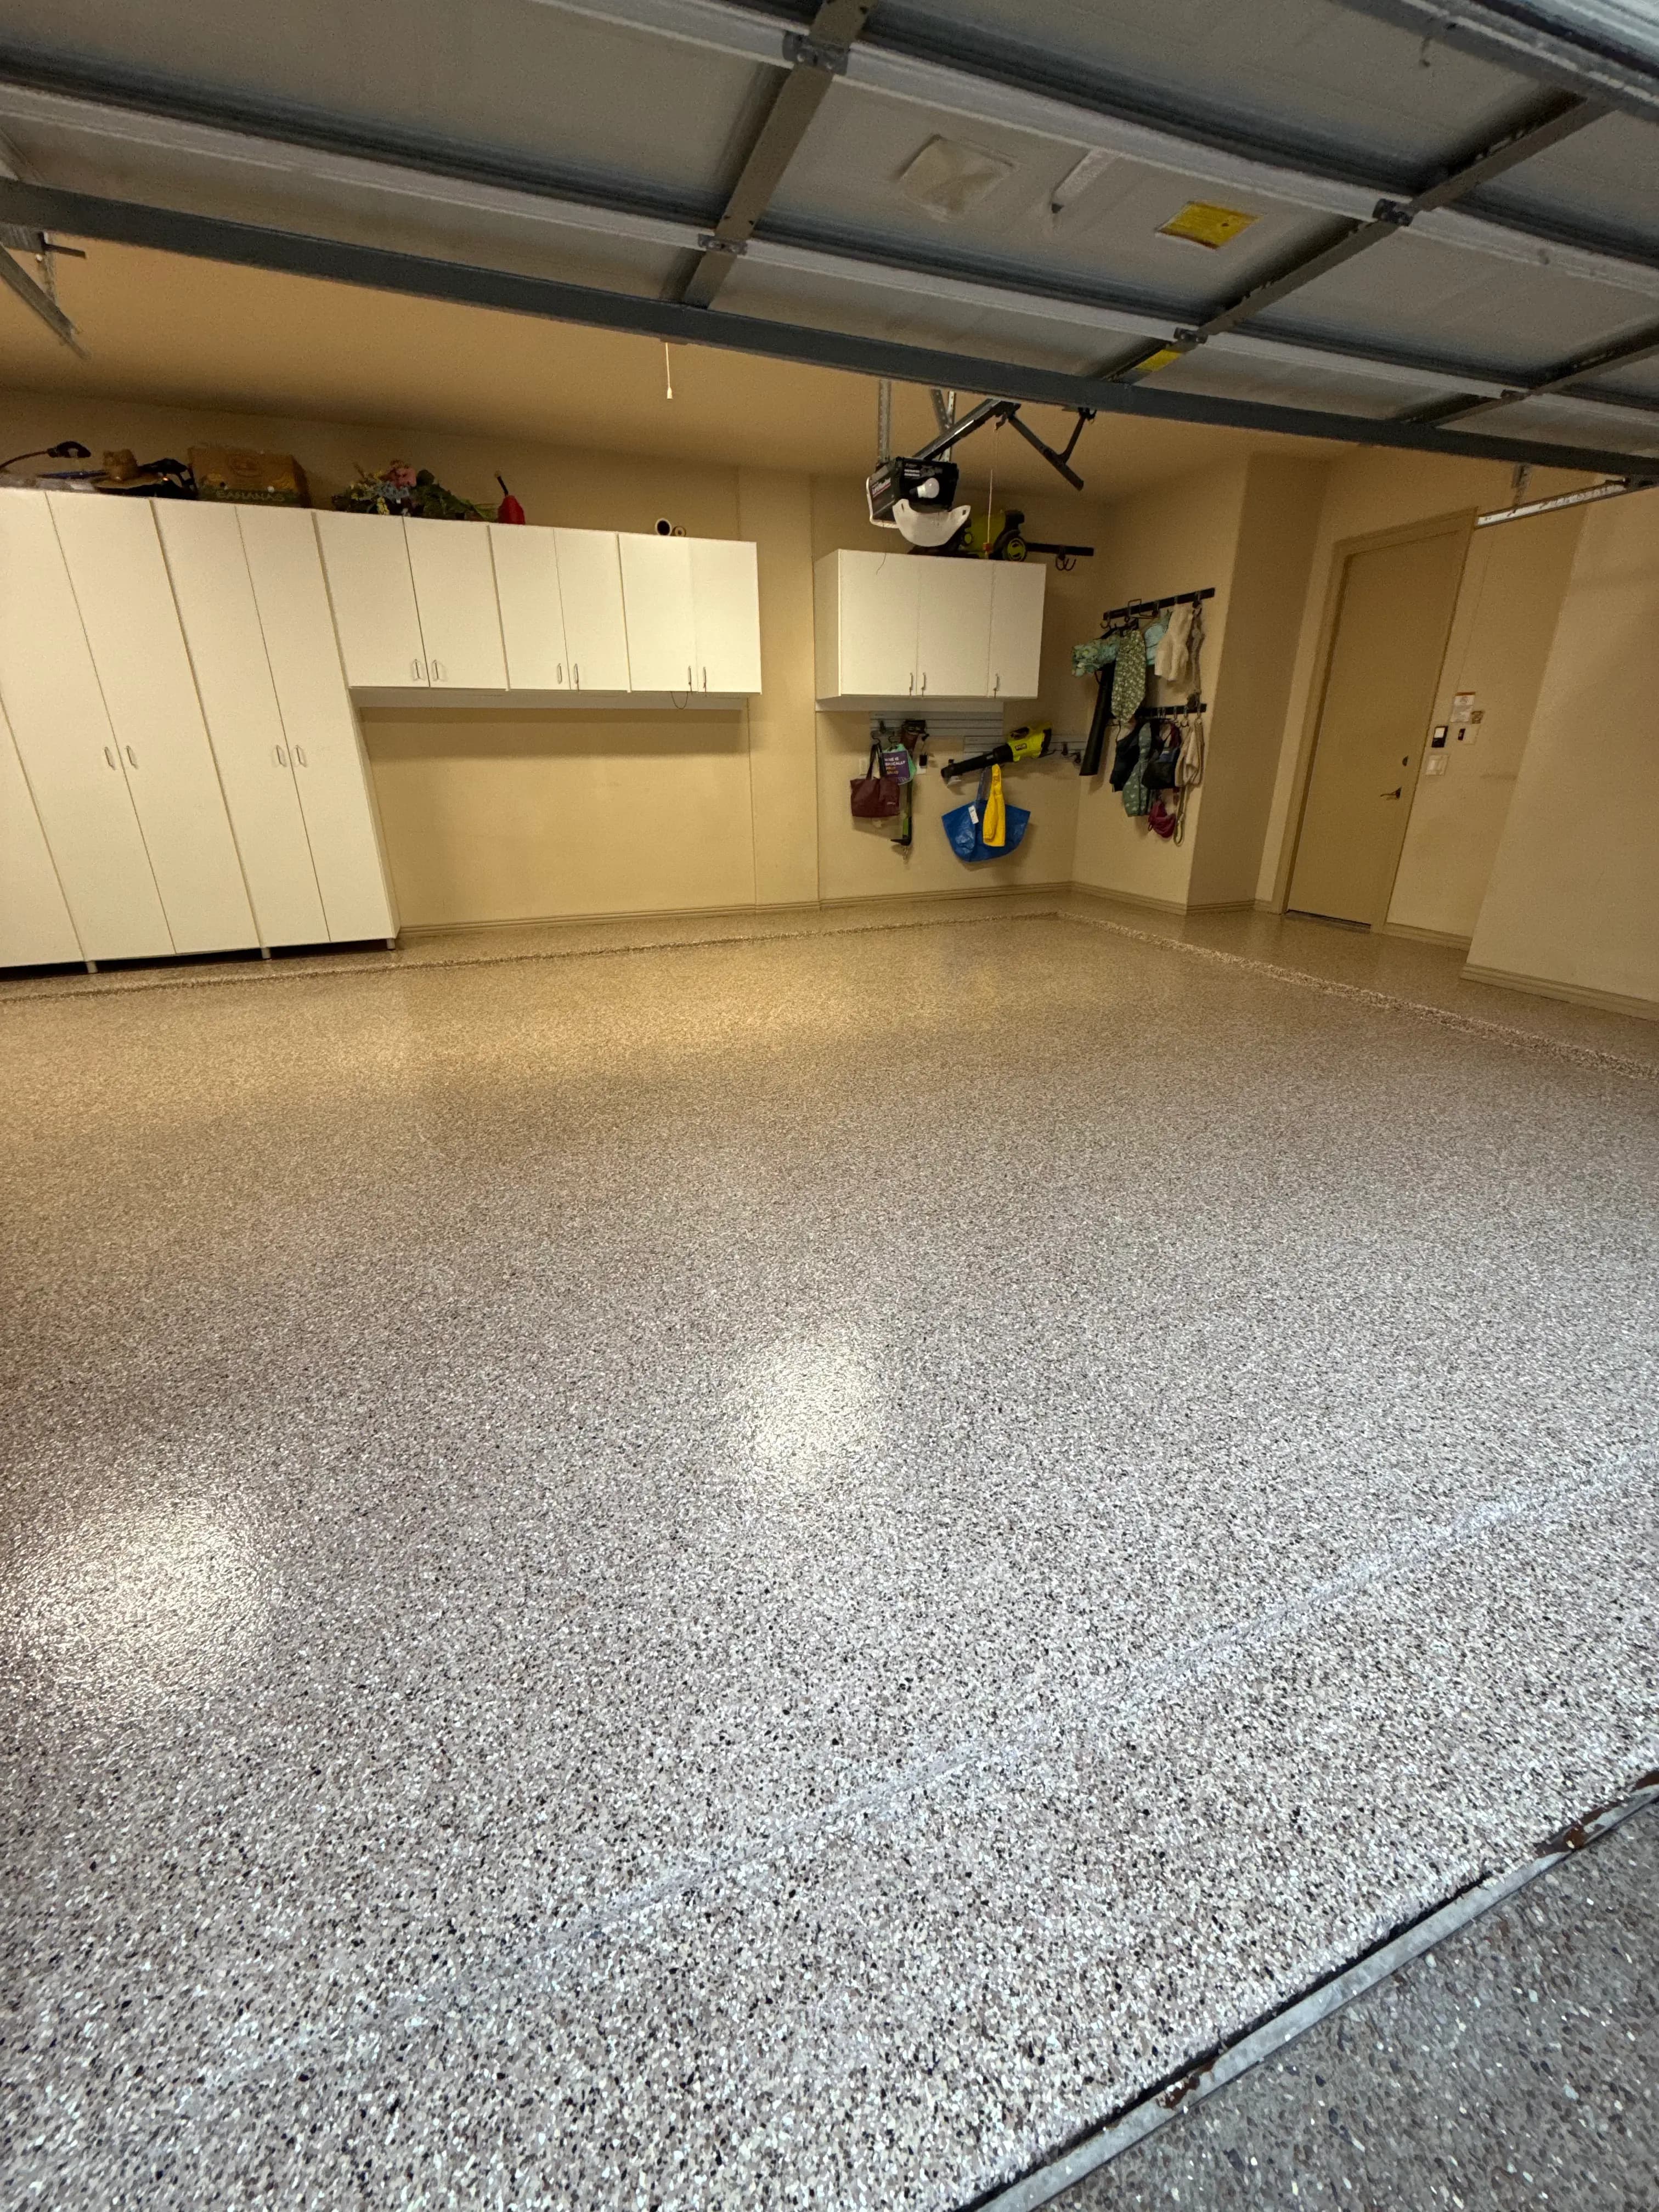
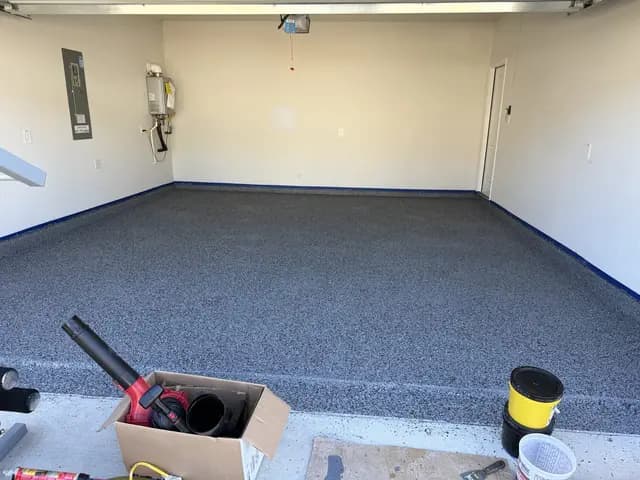
Garage
Commercial
Industrial
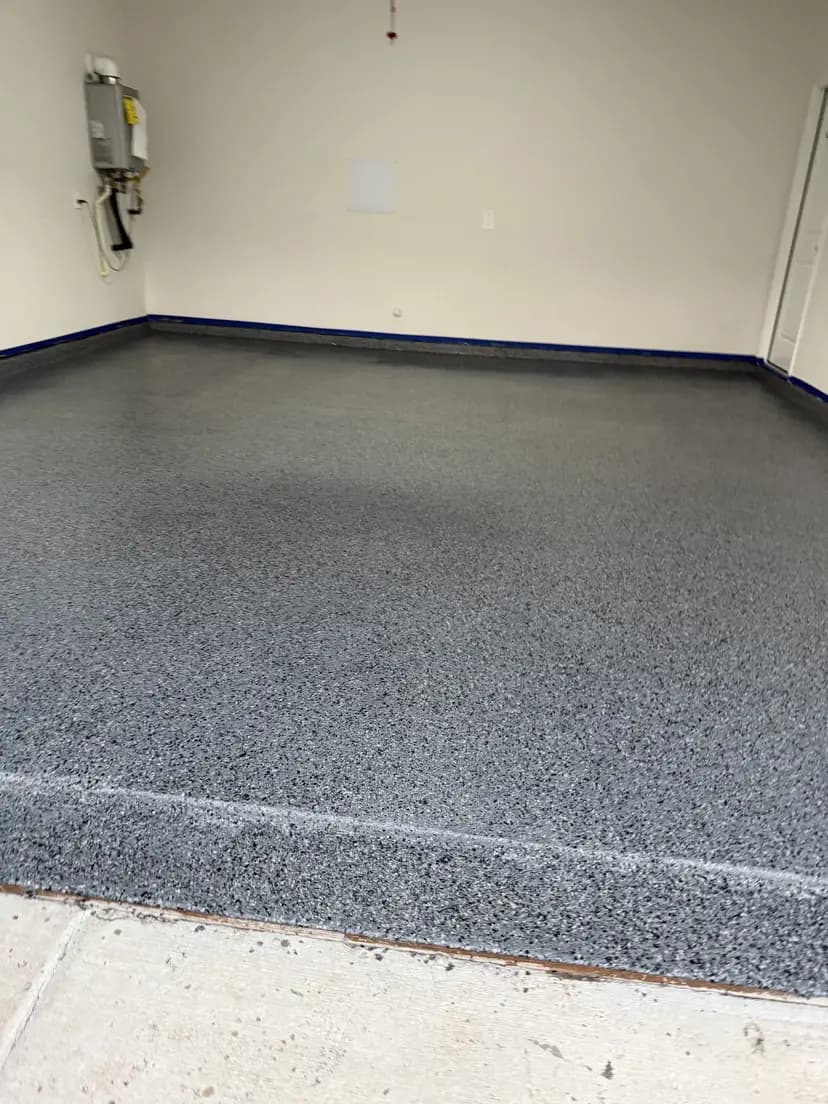
Decorative
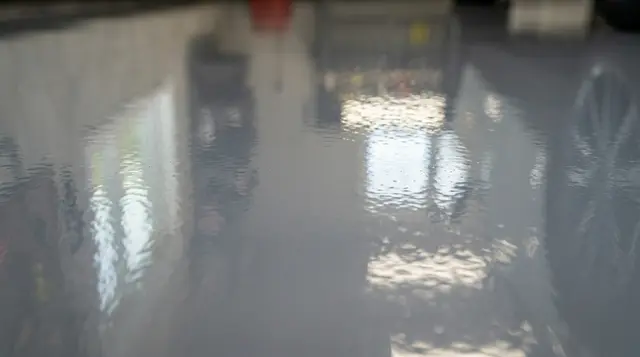
Metallic
Featured offer
Two car garage
$1,799
starting price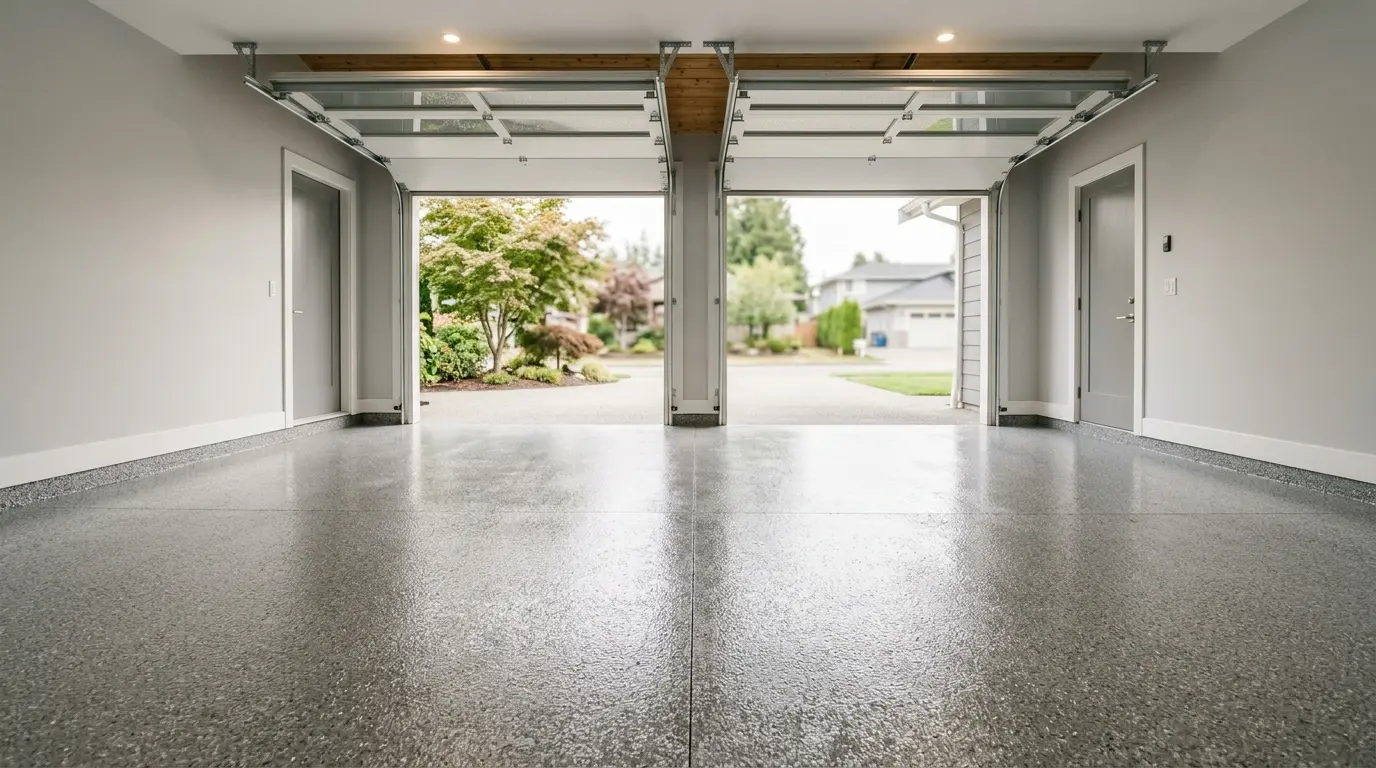
$4.99
/ sq ft for other sizesBuilt to last two car garage epoxy systems
Not just a floor. It's armor for your home.
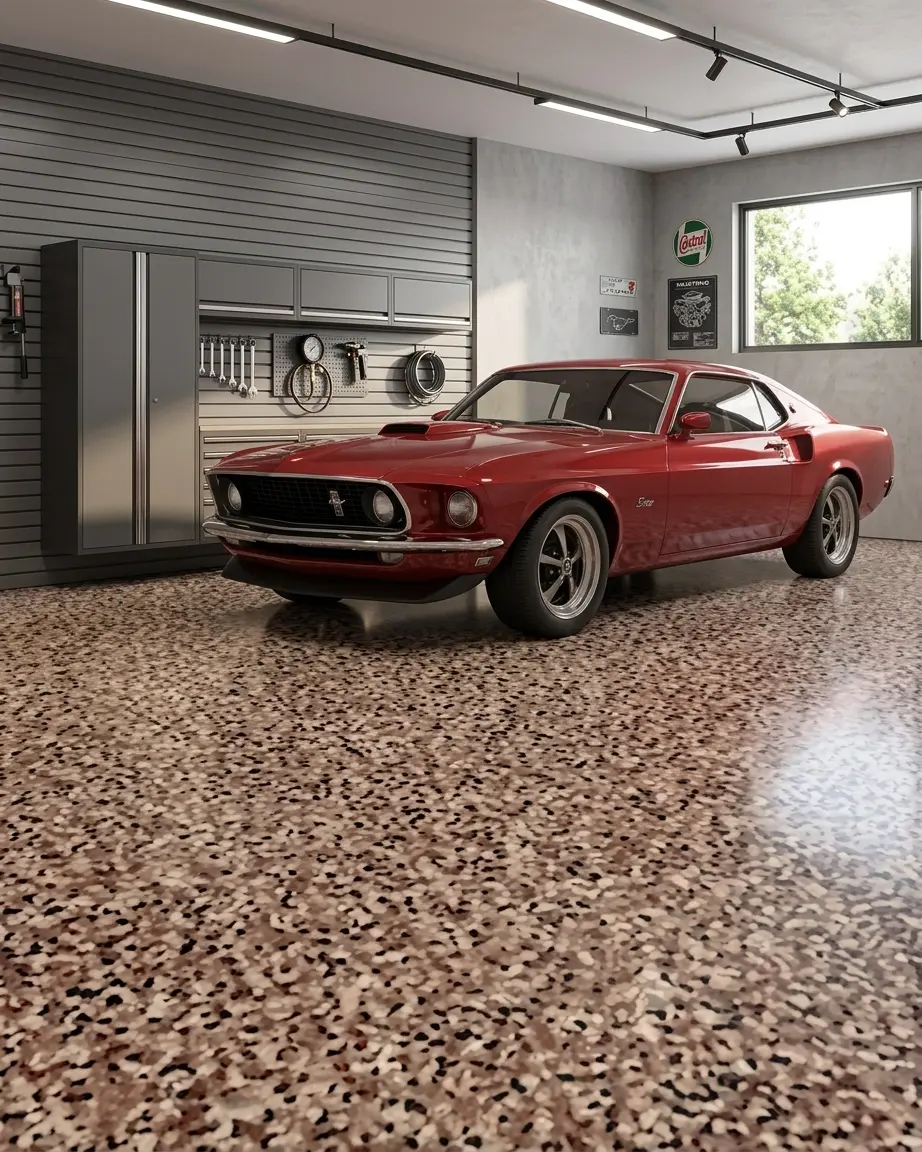 Flake
FlakeCanyon Blend
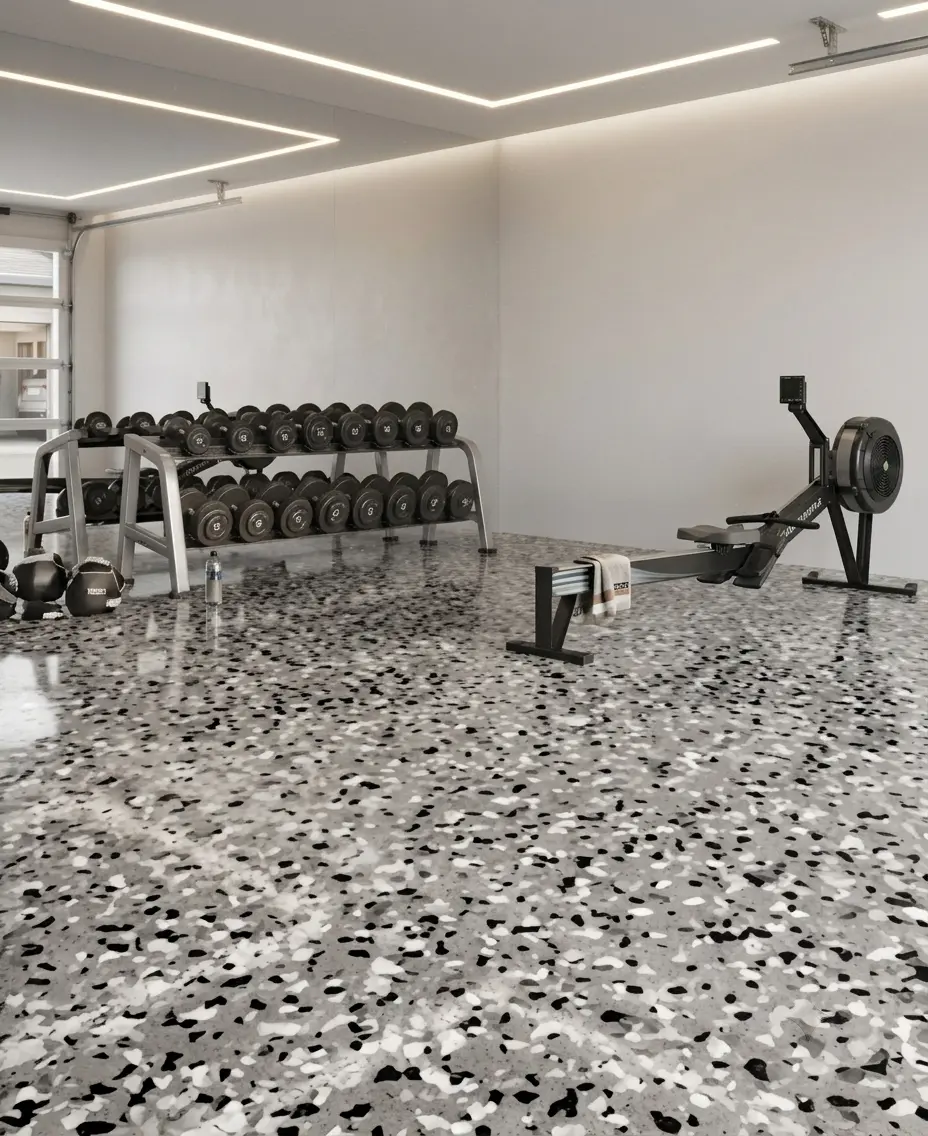 Flake
FlakeGraphite Blend
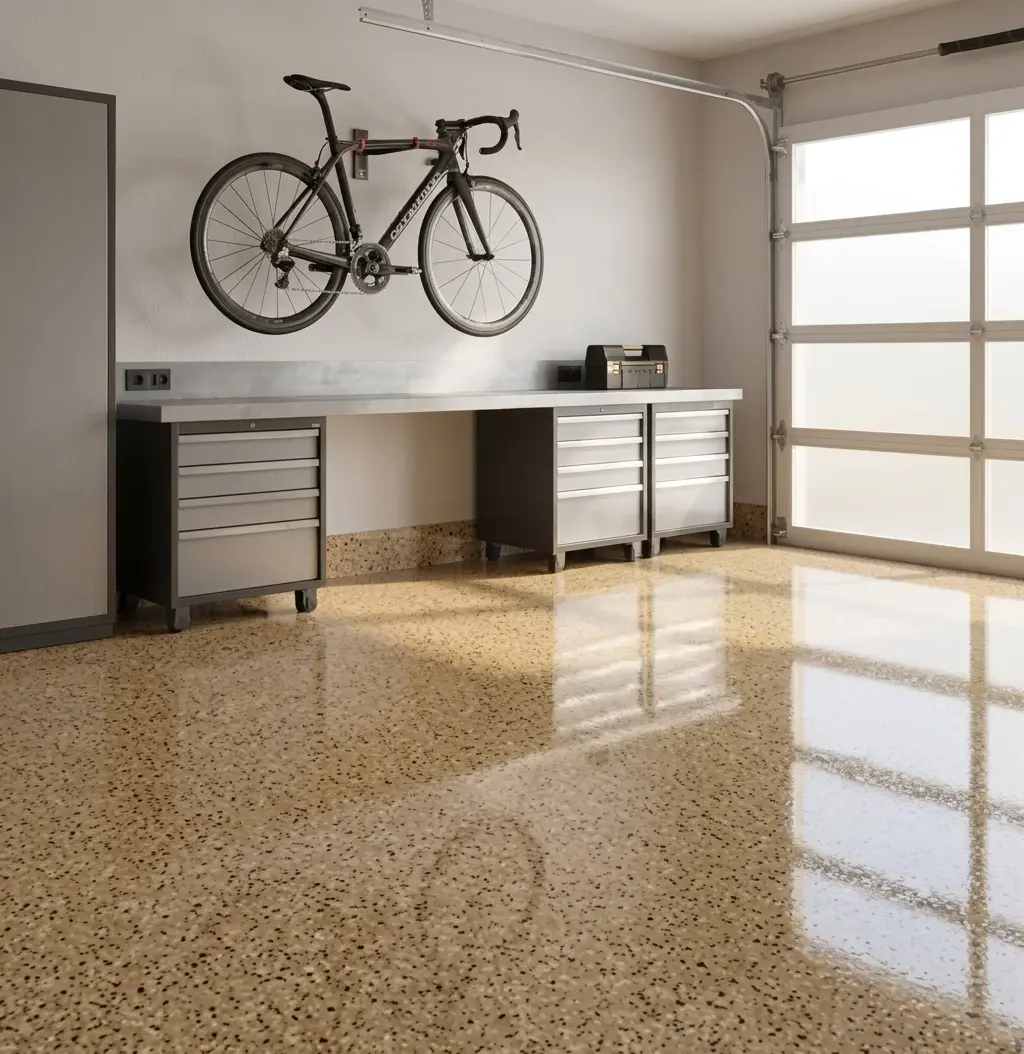 Flake
FlakeSahara Blend
We handle every step, from prep to final seal.
Terrazzo flake catalog
Every finish, one epoxy floor
Who we are
10
Years serving Texas
ProTex Epoxy Systems has installed residential and commercial epoxy floors across Texas for over a decade. Every project is run by our own in-house crew, never subcontractors, so we control the process from your first call to the final seal, backed by a written 5-year warranty and a single point of contact the whole way through.
Years in Texas
In-house crew
5-year warranty
One point of contact
How we work
Every floor, engineered in four steps
The process:
From bare concrete to a sealed, showroom-quality finish: we control every stage in-house, so the result holds up for decades, not seasons.
Prep:
Grinding and prepping the slab
We grind the bare concrete to an open profile and patch any cracks or pits, giving every coat above a surface it can actually bond to.
Base coat:
Laying the epoxy base coat
A high-bond epoxy primer goes down first, locking into the profiled concrete so nothing peels or lifts later.
Flake:
Broadcasting color flake
We broadcast color flake by hand to full refusal, building the exact texture and blend you chose from the catalog.
Topcoat:
Sealing with the final topcoat
A UV-resistant polyaspartic topcoat seals it all in, adding the gloss, grip, and chemical resistance that makes the floor last.
Prep:
Grinding and prepping the slab
We grind the bare concrete to an open profile and patch any cracks or pits, giving every coat above a surface it can actually bond to.
Base coat:
Laying the epoxy base coat
A high-bond epoxy primer goes down first, locking into the profiled concrete so nothing peels or lifts later.
Flake:
Broadcasting color flake
We broadcast color flake by hand to full refusal, building the exact texture and blend you chose from the catalog.
Topcoat:
Sealing with the final topcoat
A UV-resistant polyaspartic topcoat seals it all in, adding the gloss, grip, and chemical resistance that makes the floor last.
Our work
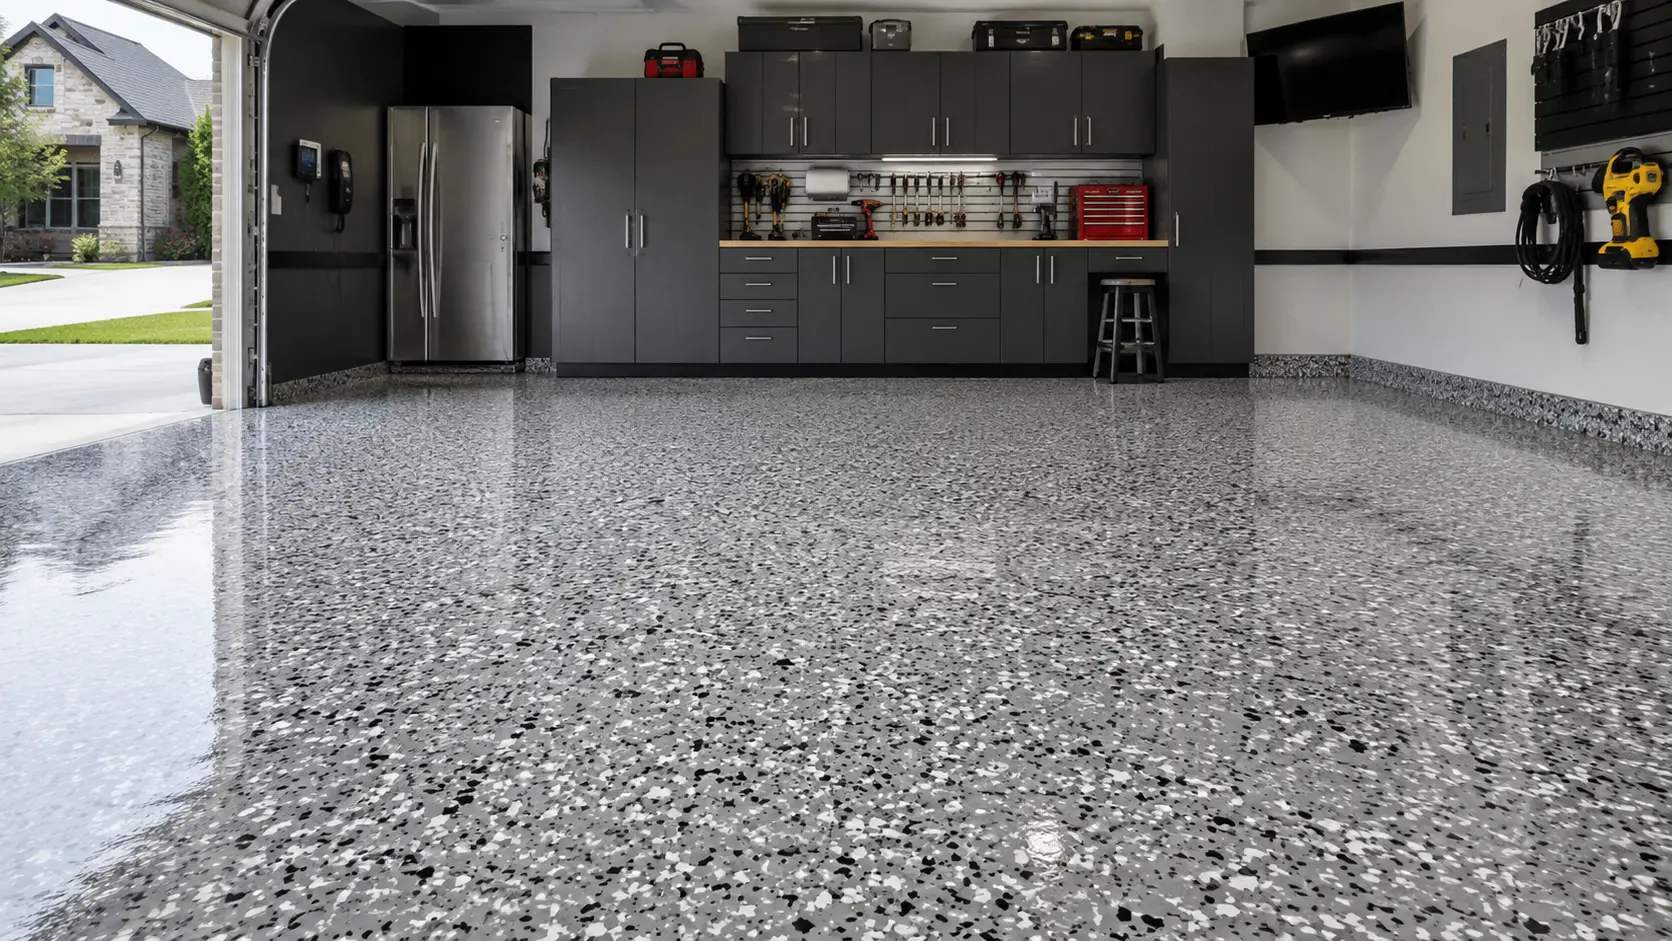
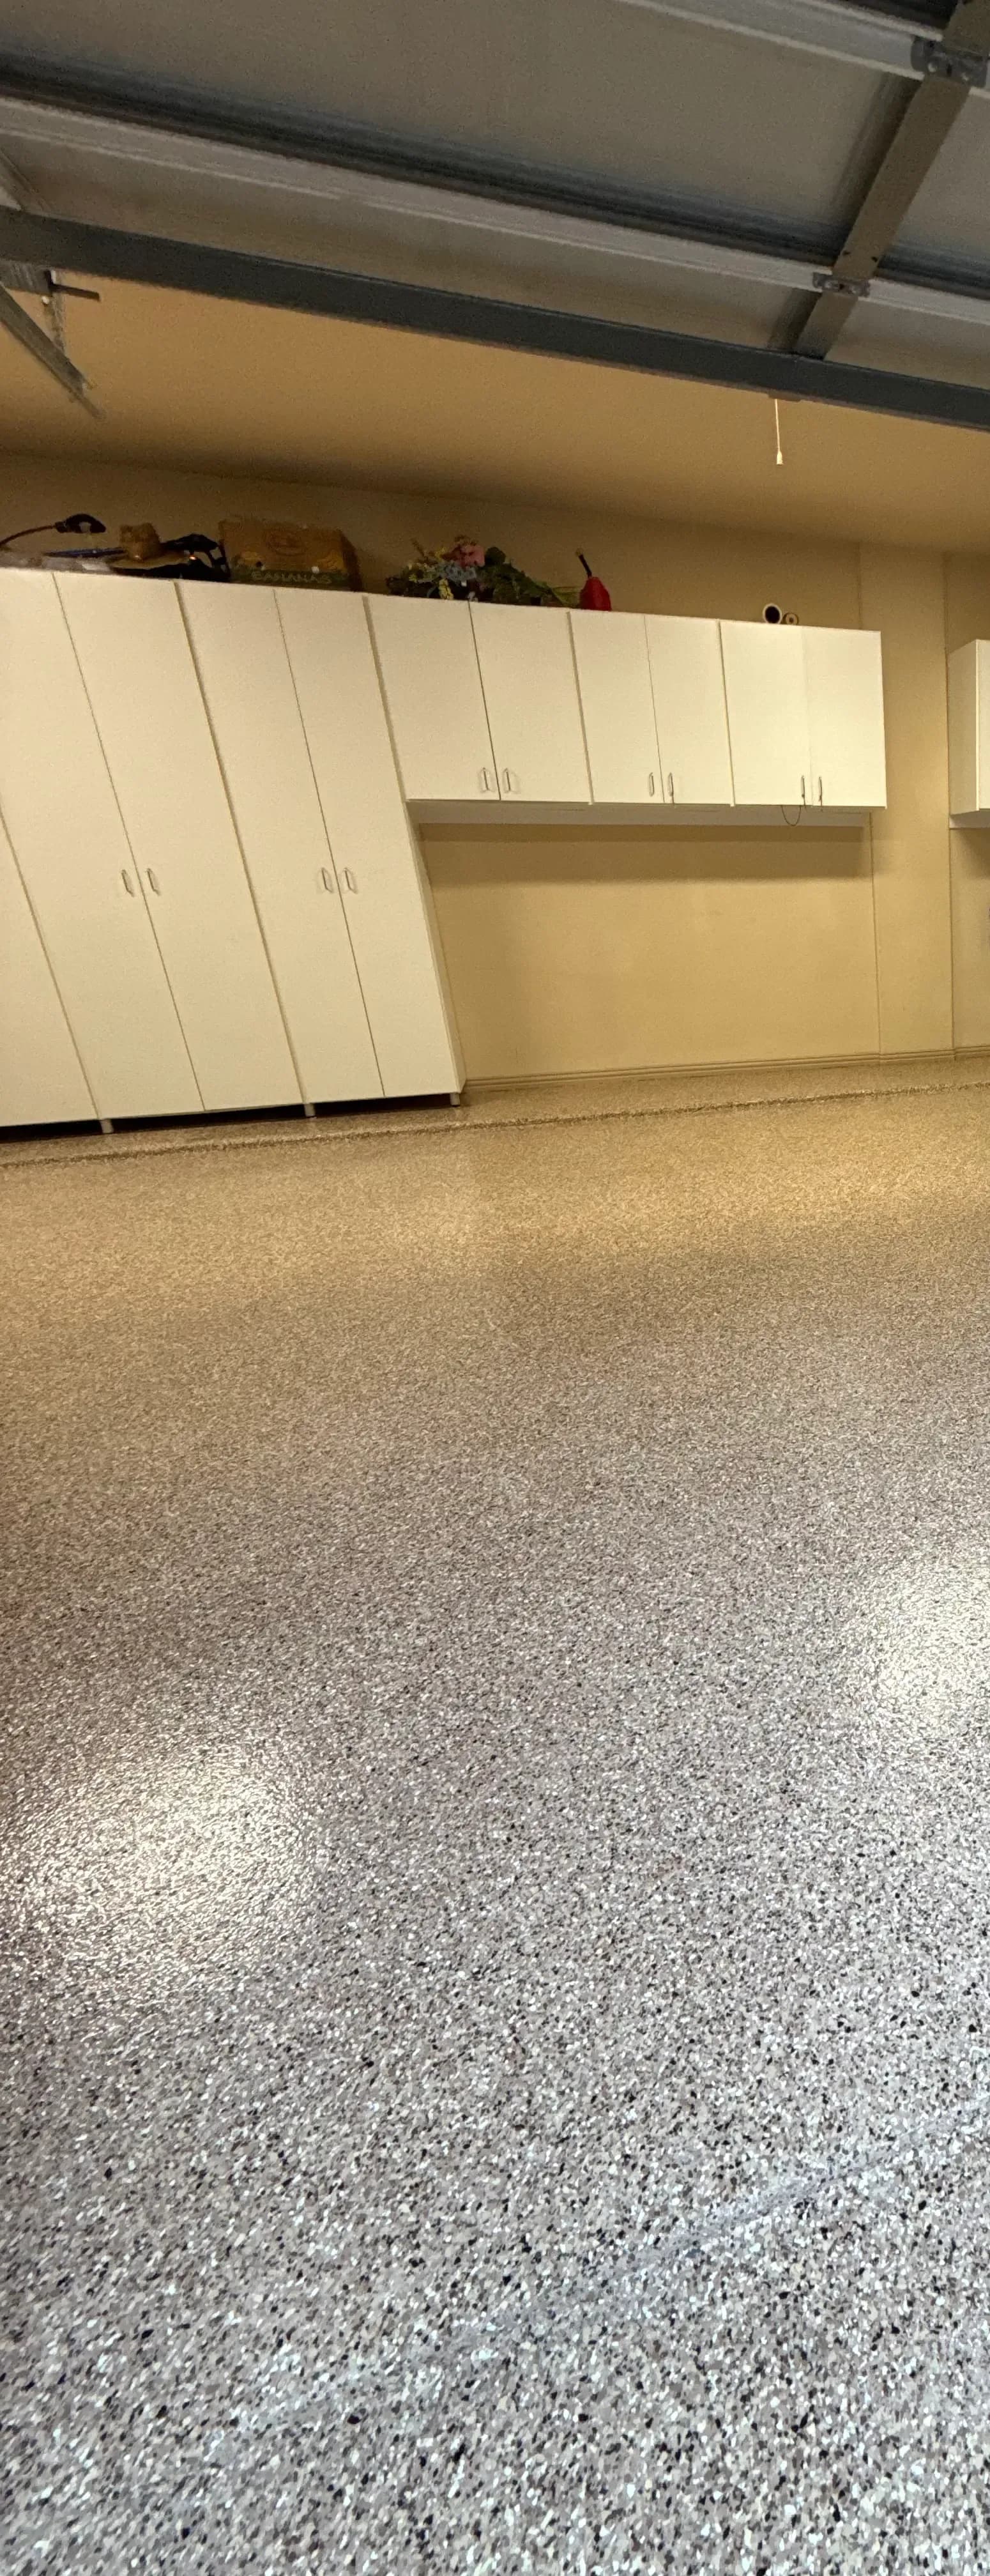
Built to last
A glass-smooth, seamless epoxy finish: the kind of floor that makes the whole garage feel new.
People say...
Testimonials
Review us on GoogleReal reviews from real customers across Texas.
5.0
rating on Google
8
Five-star Google reviews
Frequently asked questions
Product & buying guides
The best brand depends on whether you're hiring a pro or going the DIY route: professional-grade materials give you higher solids content, better UV resistance, and a much longer lifespan.
- Rust-Oleum (Polycuramine/Craftsman): widely available, best paired with a high-solids or polyaspartic coating rather than an entry-level water-based kit.
- Torginol: the industry standard for decorative flake and chip systems used by professional installers.
- Sherwin-Williams (General Polymers): industrial-strength 100% solids formulas with high chemical and impact resistance.
- ArmorPoxy: durable commercial-grade kits built for heavy residential use.
- Look for 100% solids epoxy for maximum thickness, and a polyaspartic topcoat to prevent yellowing and add scratch resistance.
The right choice comes down to traffic, sunlight exposure, look, and whether you're installing it yourself.
- Material: 100% solids epoxy for heavy vehicle and chemical traffic; water- or solvent-based for lighter foot traffic and lower budgets.
- Style: decorative flake systems hide imperfections and add slip resistance; solid color epoxy suits clean, high-visibility spaces.
- Topcoat: always add a polyaspartic clear topcoat in garages with direct sunlight or hot-tire pickup.
Epoxy systems range from simple solid colors to decorative, metallic, and industrial-grade builds:
- Solid color epoxy: seamless single-color finish for basements and light-duty spaces.
- Decorative flake/chip: multi-layer system with vinyl flakes, ideal for garages, retail, and patios.
- Metallic epoxy: pigments create a 3D marble-like look for showrooms and upscale interiors.
- Commercial/industrial epoxy: heavy-duty and anti-slip, built for warehouses and repair shops.
- Polyaspartic systems: fast-curing and UV-stable, great for 1–2 day installs and outdoor spaces.
It depends on how much durability you need:
- Specialty suppliers (ArmorPoxy, Epoxy-Coat, Garage Flooring LLC): 100% solids kits with primer, flakes, and polyaspartic topcoat included.
- Commercial manufacturers (Sherwin-Williams, PPG): industrial-grade epoxy for pickup or freight delivery.
- Home improvement retailers (Home Depot, Lowe's): accessible DIY kits, best for light residential use only.
Costs & hiring
Professional installation typically runs $3–$12 per square foot depending on size, prep needs, and system complexity.
- 1-car garage (~250 sq ft): $1,200 – $2,500
- 2-car garage (~400–500 sq ft): $1,800 – $4,500
- 3-car garage (~600–800 sq ft): $2,500 – $6,500
- Biggest cost drivers: concrete prep (diamond grinding), system type, and existing floor damage.
Most homeowners spend $2,000–$5,000 for a full garage installation.
- Labor and surface prep make up roughly 60–70% of the total cost: proper diamond grinding is what prevents peeling later.
- Professional jobs typically include a 10-year to lifetime warranty, which offsets the higher upfront price compared to DIY.
When comparing local installers, prioritize the ones who take prep seriously:
- Confirm they use diamond grinding or shot blasting, not just acid etching.
- Look for 100% solids epoxy base coats with a polyaspartic topcoat.
- Check the warranty: reputable contractors back their work for 10 years or more against peeling and delamination.
- In the Dallas–Fort Worth area, ProTex Epoxy Systems installs commercial-grade full flake and polyaspartic floors with a 5-year warranty and 1–2 day turnaround.
Education & concepts
An epoxy floor coating is a synthetic surface made by mixing liquid resin with a hardener. The chemical reaction bonds the mix to prepared concrete, forming a rigid, seamless plastic layer that:
- Eliminates joints and grout lines where dirt, oil, and moisture collect.
- Resists motor oil, gasoline, road salt, and household solvents.
- Handles heavy foot traffic, vehicle loads, and mechanical impact.
Epoxy gives you serious strength and customization, but it does require correct installation.
- Pro: durability. Resists hot-tire pickup and chemical spills, lasting 10 to 20+ years when installed properly.
- Pro: low maintenance. A non-porous surface that's easy to sweep and mop.
- Pro: looks. Available in flake patterns, solid colors, and metallic finishes.
- Con: installation sensitivity. Moisture or poor grinding can cause peeling or bubbling.
- Con: can be slippery when wet unless anti-slip flakes or aggregates are added.
- Con: standard epoxy can yellow under direct sun without a polyaspartic topcoat.
Prep & technique
Proper prep is the single biggest factor in how long an epoxy floor lasts:
- 1. Clean and degrease: remove all oil, grease, paint, and sealers, then scrub and rinse.
- 2. Profile the surface: diamond grind or shot blast to a Concrete Surface Profile (CSP) of 2–3, similar to medium-grit sandpaper.
- 3. Repair cracks: fill with epoxy patch compound or polyurea filler, then grind flush once cured.
- 4. Vacuum thoroughly: clear all dust with a HEPA vacuum; leftover dust ruins adhesion.
- 5. Check moisture: run a calcium chloride or plastic sheet test, and use a moisture-mitigating primer if levels are high.
Get in Touch
Have a project in mind? Send us the details and we'll follow up with a free quote.